Learn to assemble and reflow solder a double sided SMT Arduino printed circuit board. At the end of this workshop you will have a working Arduino that you can take home. Note that every effort will be made to ensure you are successful but it is still possible to assembly the board in a way that makes it unusable.
Duration: 1 hour
Date: April 1 2015
Time: 6-7PM
Cost: $15.00
Group size: 5 people max
Register: DNCLABS.com
Process
Bottom Side
- Apply solder paste to the secondary (bottom) side of the PCB using a stainless steel solder paste screen
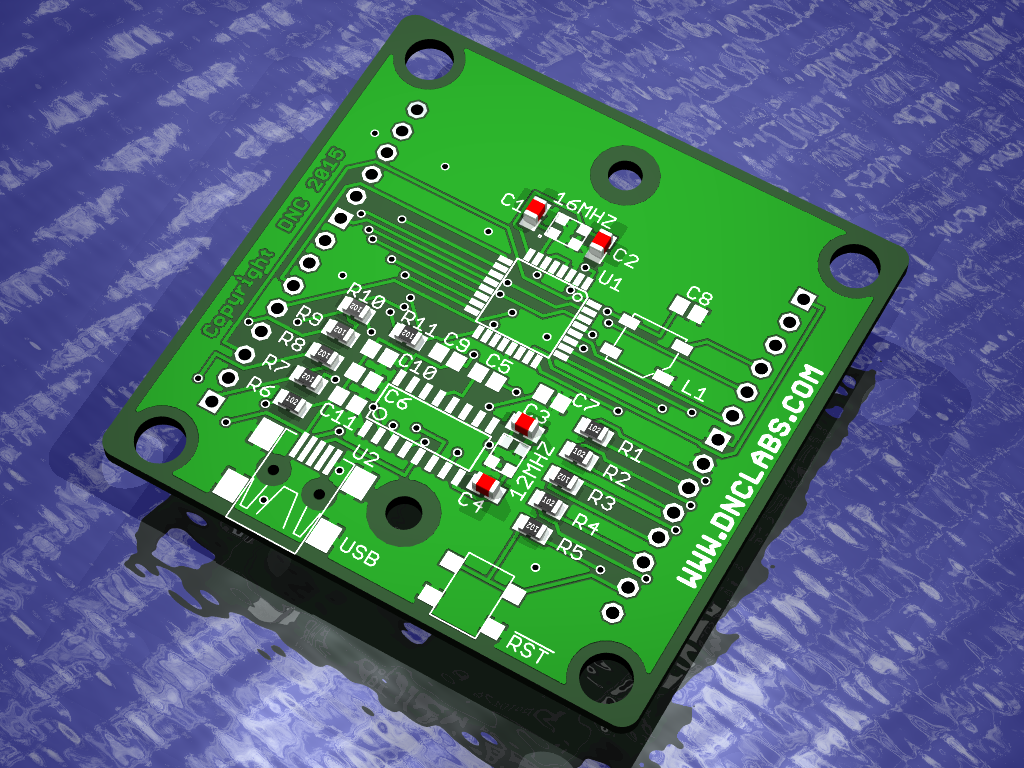
- Place components onto the solder pads using tweezers. Take care to ensure that polarized devices are mounted in the correct orientation.
- Review
- Place PCB in toaster oven and reflow
- Using solder wick clean up any solder bridges. In particular pay attention to the USB connector , TQFP and SOIC.
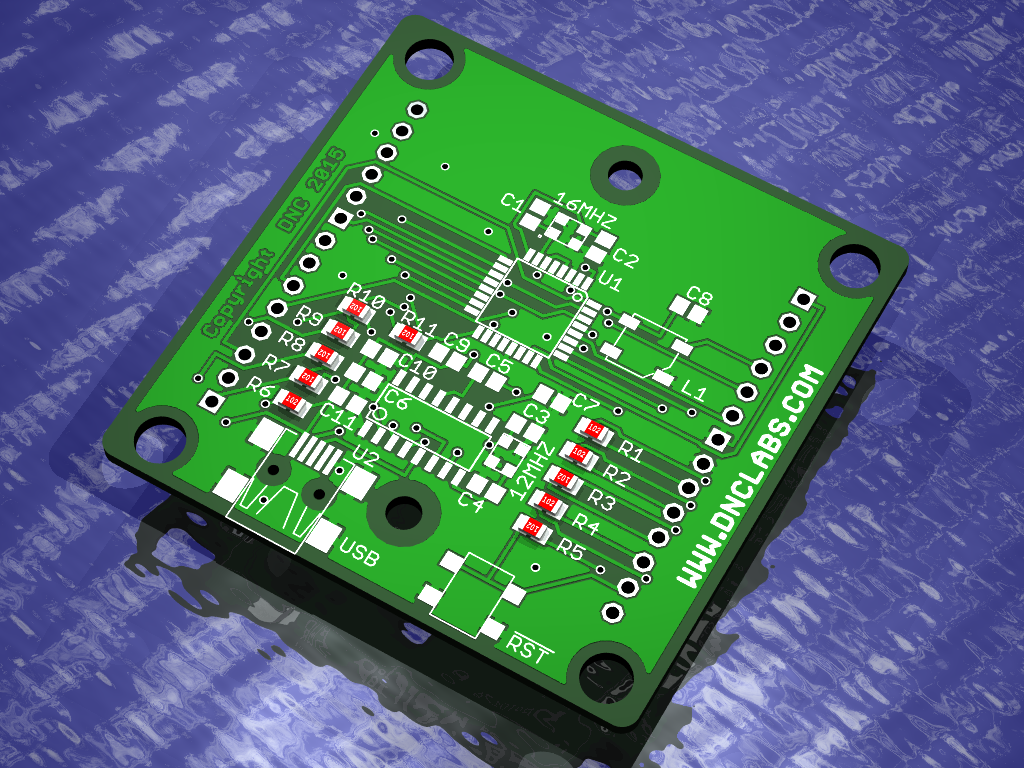
1.0K 0805 Resistors R1-11
18pF 0805 Capacitors C1-4
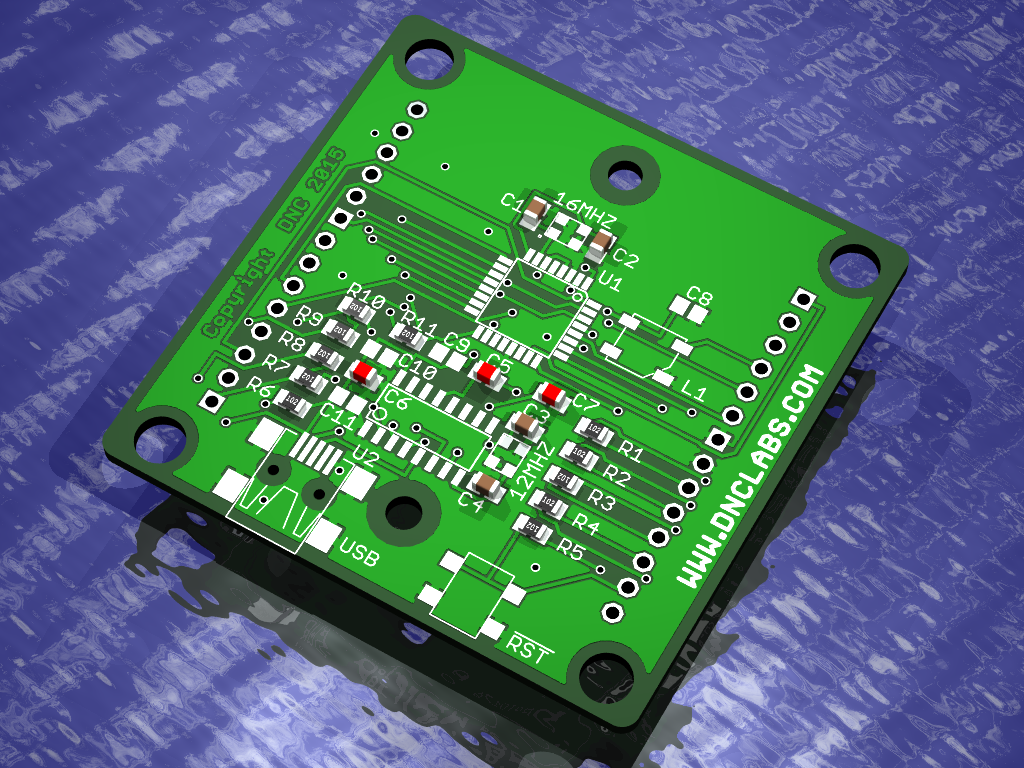
0.1uF 0805 Capacitors C5-7

1.0uF 0805 Capacitors C8-10

10uF 0805 Capacitors C11

16 MHz Crystal X1

12 MHz Crystal X2
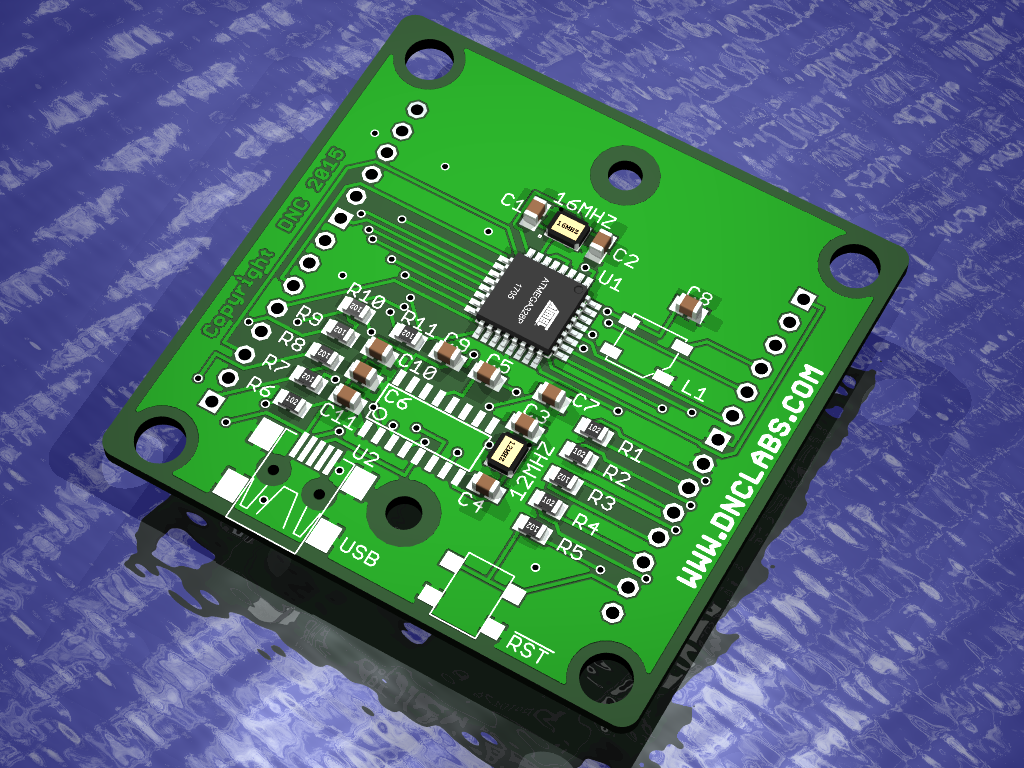
ATMega328P TQFP32 U1
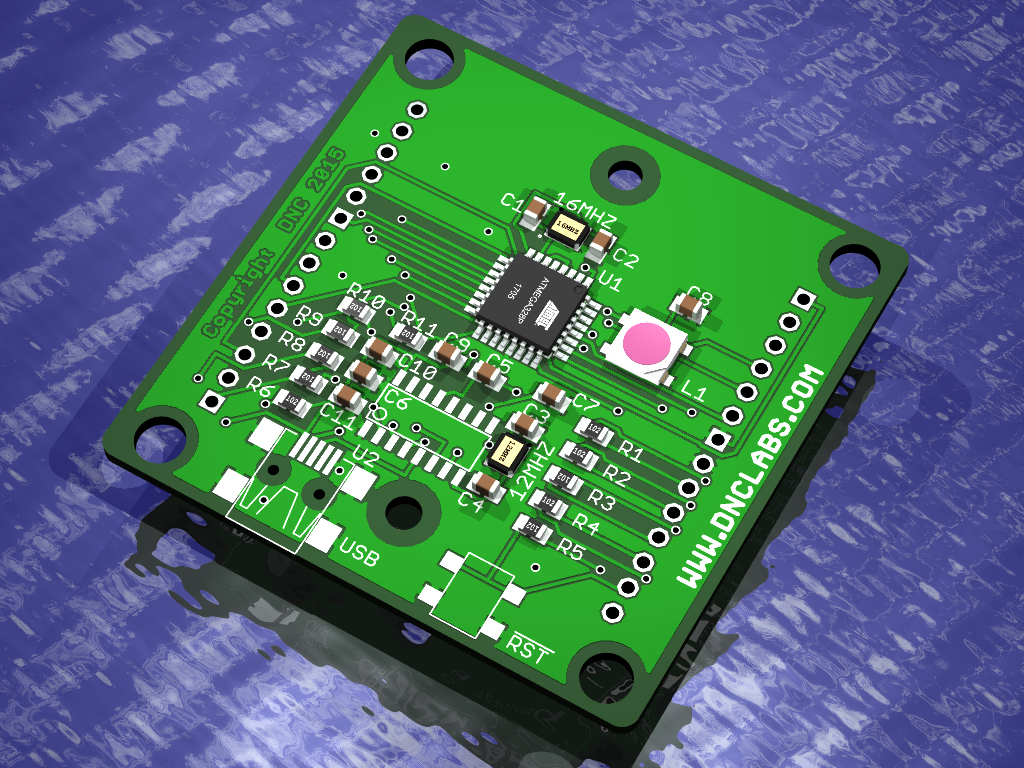
WS2812B RGB LED L1

CH340GSOIC16 U2
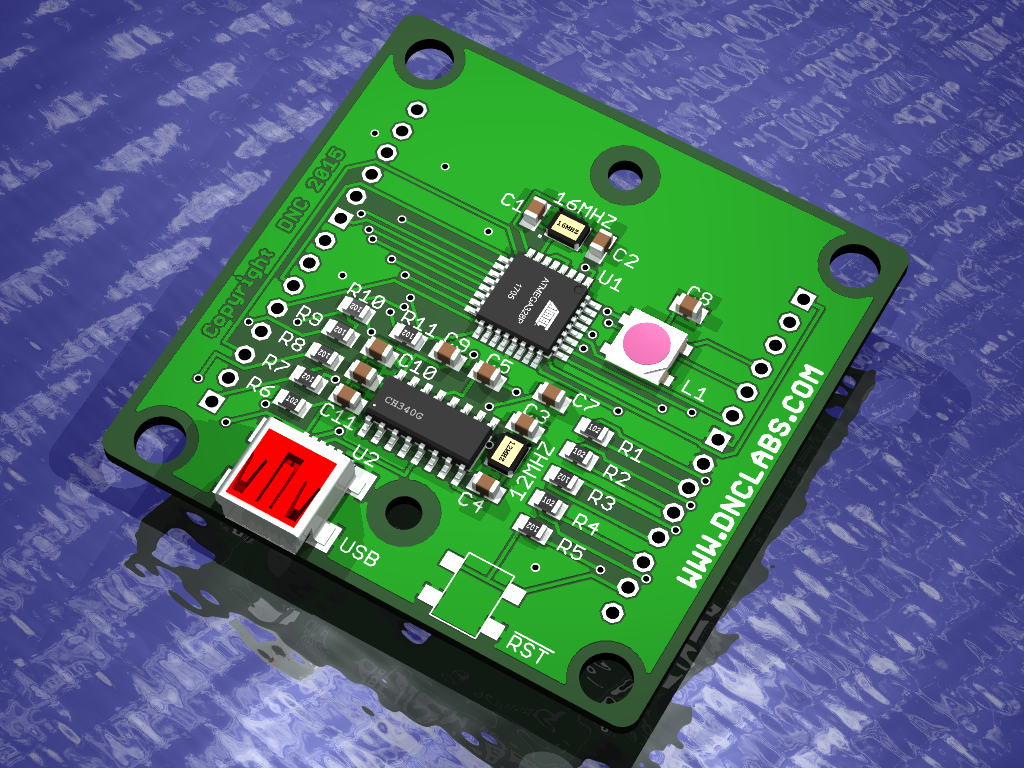
USB connector J5

Reset switch
Top Side
- Apply solder paste to pads on the primary side (top) of the PCB using a syringe of solder paste.
- Review
- Reflow in a toaster oven

Red 0805 LEDs Rx,R Polarized
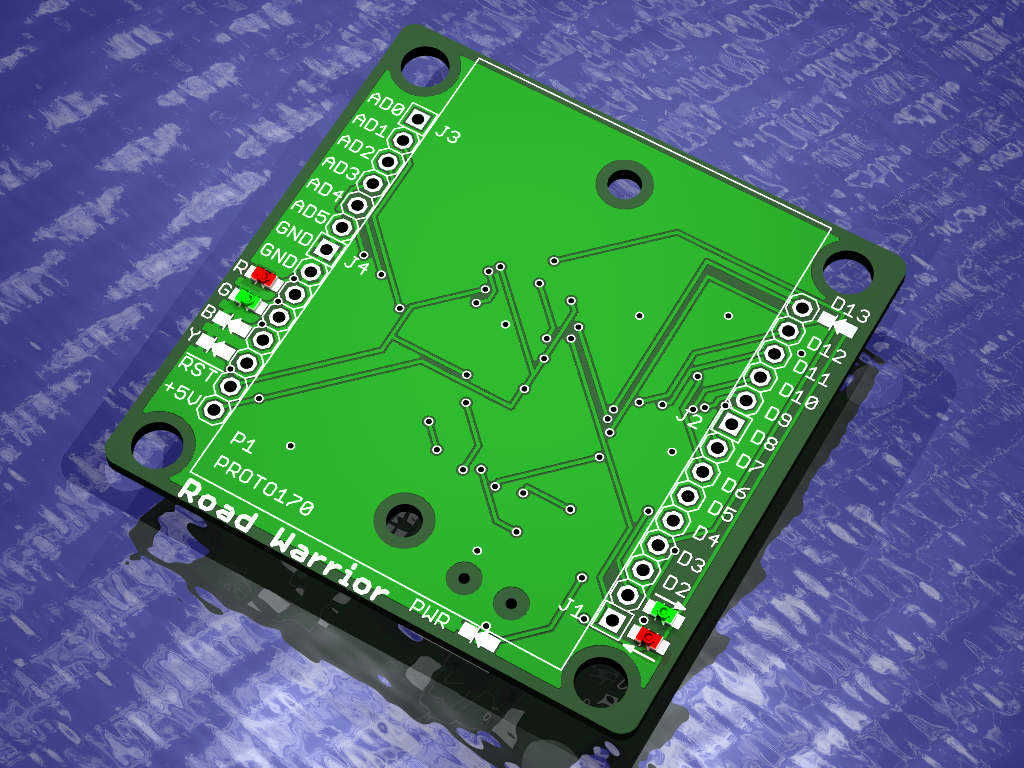
Green0805 LEDs Tx,G
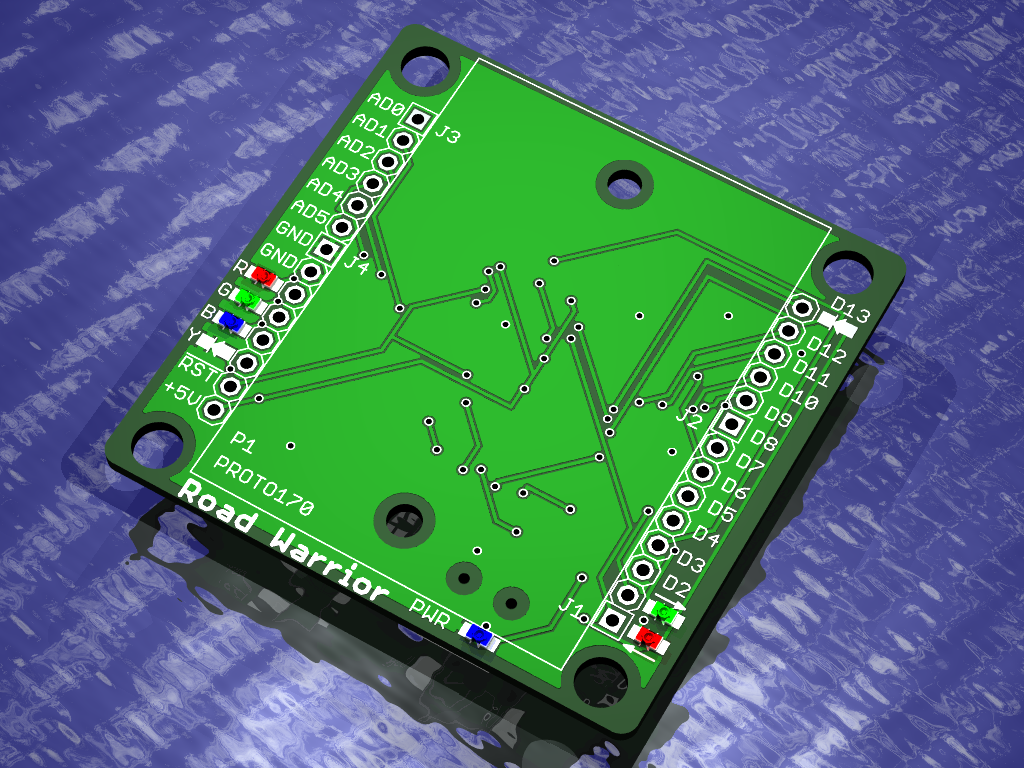
Blue 0805 LEDs Pwr,B Polarized

Yellow 0805 LEDs Usr,Y Polarized
Final Inspection
Check for shorts on the USB connector
Check for shorts on the CH340
Check for shorts on the M328
Initial Power Test
Confirm that the CH340 enumerates when plugged into your PC
Confirm the power LED turns on.
Manually solder headers in place
Assemble the plastic an bread board.
Programming
Copy the opti-boot loader to the board using an Arduino as an ISP programmer.
Arduino ISP wiring
Arduino 13 – 13 Road Warrior
Arduino 12 – 12 Road Warrior
Arduino 11 – 11 Road Warrior
Arduino 10 – RST Road Warrior
Arduino +5V – +5V Road Warrior
Arduino GND – GND Road Warrior
Arduino RST to Arduino Vcc