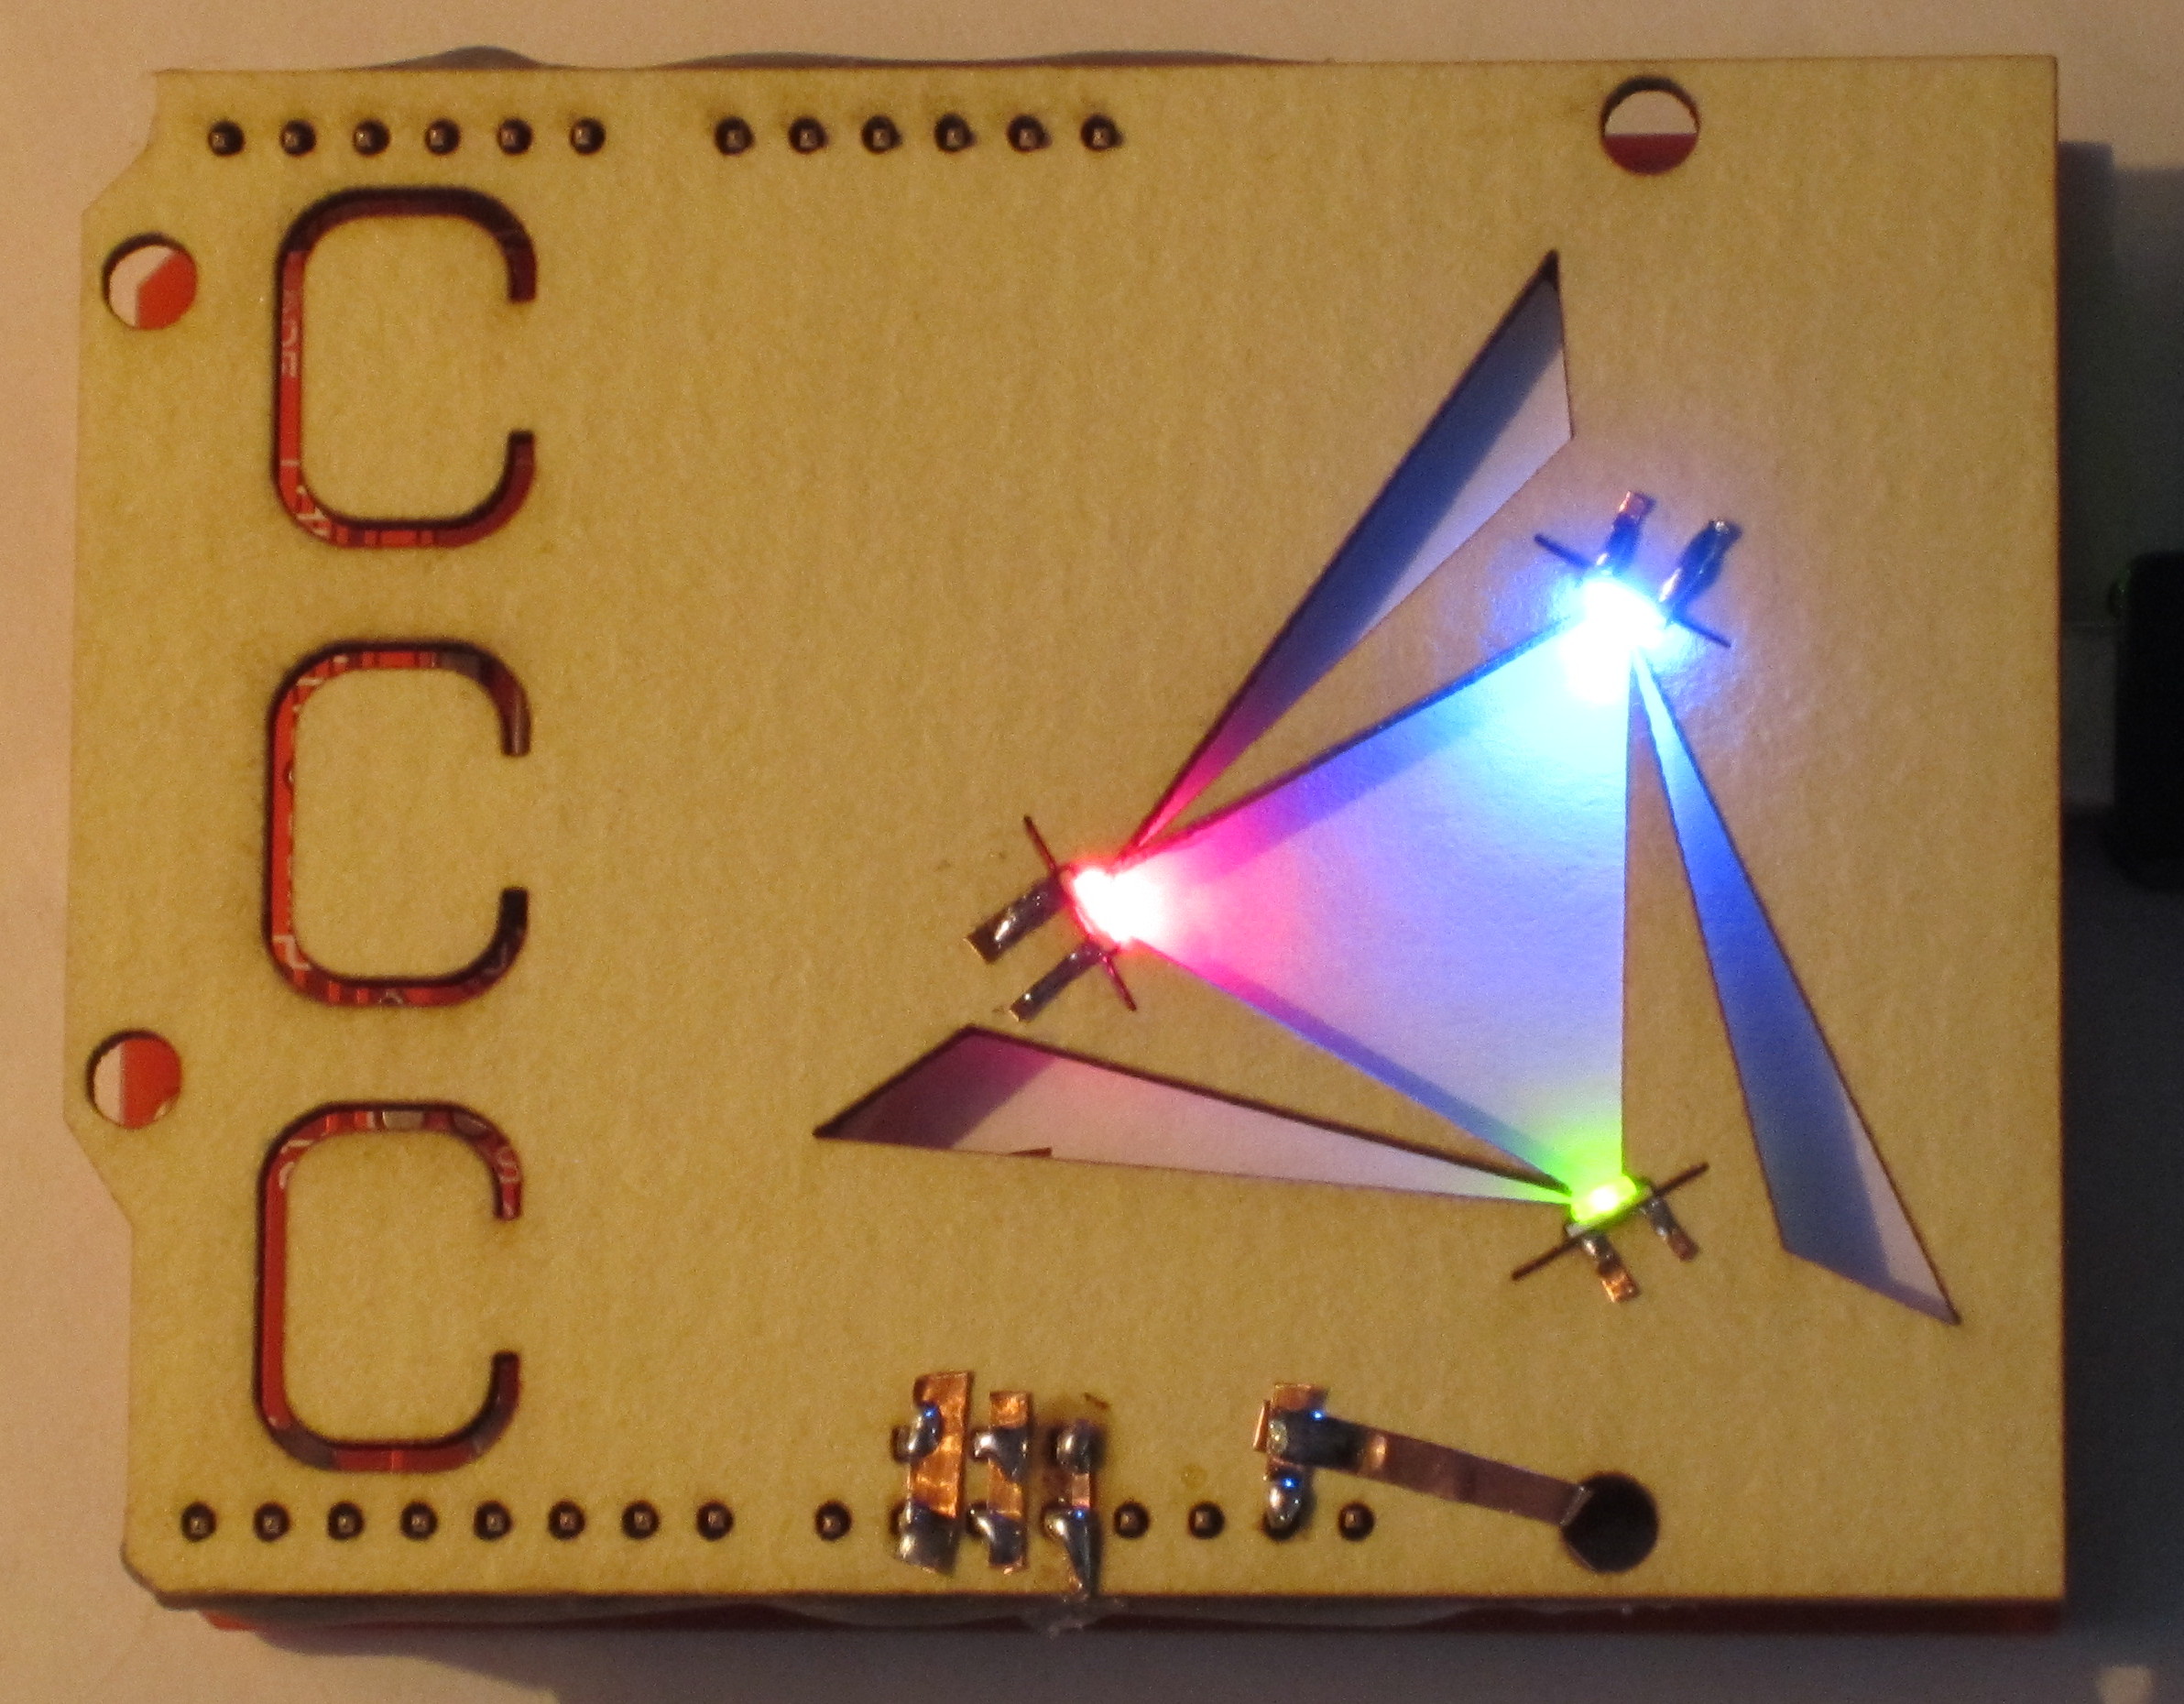
 As part of my research into paper circuits I have been exploring the possibility of mounting LEDs on edge in a piece of matte board. This mounting geometry allows you to create a stained glass effect where cut-outs in the matte board are washed with colour from the side firing LEDs. To test the ideas I have built a paper Arduino shield with side lit LEDs so you can see the results. I plan to use the design as a colour mixing palette for testing RGB colour effects.
I started by simply laser cutting a hole in 1/16″ matte board so that a 1206 SMT LED would slip into the hole side ways. Then I placed copper tape over the ends of the LED and soldered it in place. The problem with this first attempt is; the edge contacts on the LED electrodes are not very easy to solder to. I could get this to work but the joint was weak and unreliable.
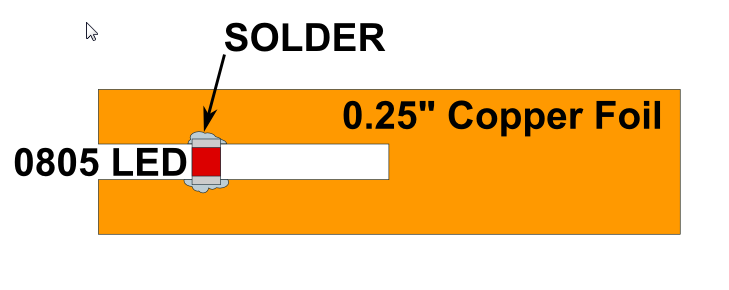
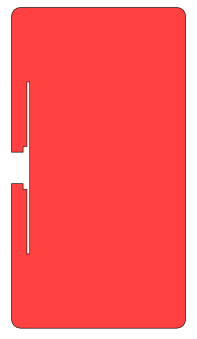 To address the issues with my first design I decided to modify the mounting geometry so that there would be a slit behind the LED which allows copper tape to be soldered to the full LED pads. This worked much better however I needed to widen the slit to 0.01″ to allow for the thickness of the copper foil. The original laser cut slot was 0.001″ wide and was so fine that the copper foil was difficult to slip into place. I also noticed that after soldering the LED to the foil the material near the LED becomes very stiff and it was difficult to bend it flush to the matte board while mounting the LED. This meant that the top and bottom of the matte board were no longer flat and I couldn’t apply a cover sheet. The solution to this problem was to mount the LED and after taping the foil down I would go over the raised joint with a soldering iron to flatten it. This actually has the effect of locking the LED in place as if it were riveted. The LED is soldered to the split foil first and then inserted into the laser cut slot.
 The final issue I saw was that the LED window is so thin that the paper which holds the LED in place was not quite strong enough so it deformed. I have changed the laser cutting geometry once more to add a light pipe and a lot more paper to support the LED.