 As part of the Ottawa mini-Maker Faire I decided to present a workshop on building paper cars. The project was complex and my initial days presentation was quite honestly a bit of a disaster and we had fun. I learned a great deal from the participants and I hope to do better at next years faire. On the first day I was surprised to have so many young children signed up. There was a skill mismatch where the children were either unable to cut the copper foil to size correctly or they were unable to sort the parts so that the correct length of foil ended up in the correct location. To compound my problems I didn’t have a trained helper; there were helpers but they didn’t know how to help out unless I spent time training them. In the end I was left in a swirl of questions and we only completed one car of the 7 we started. On a positive note we had fun and everyone had a chance to successfully solder their circuits which included surface mount SOT23 transistors and 1206 resistors.
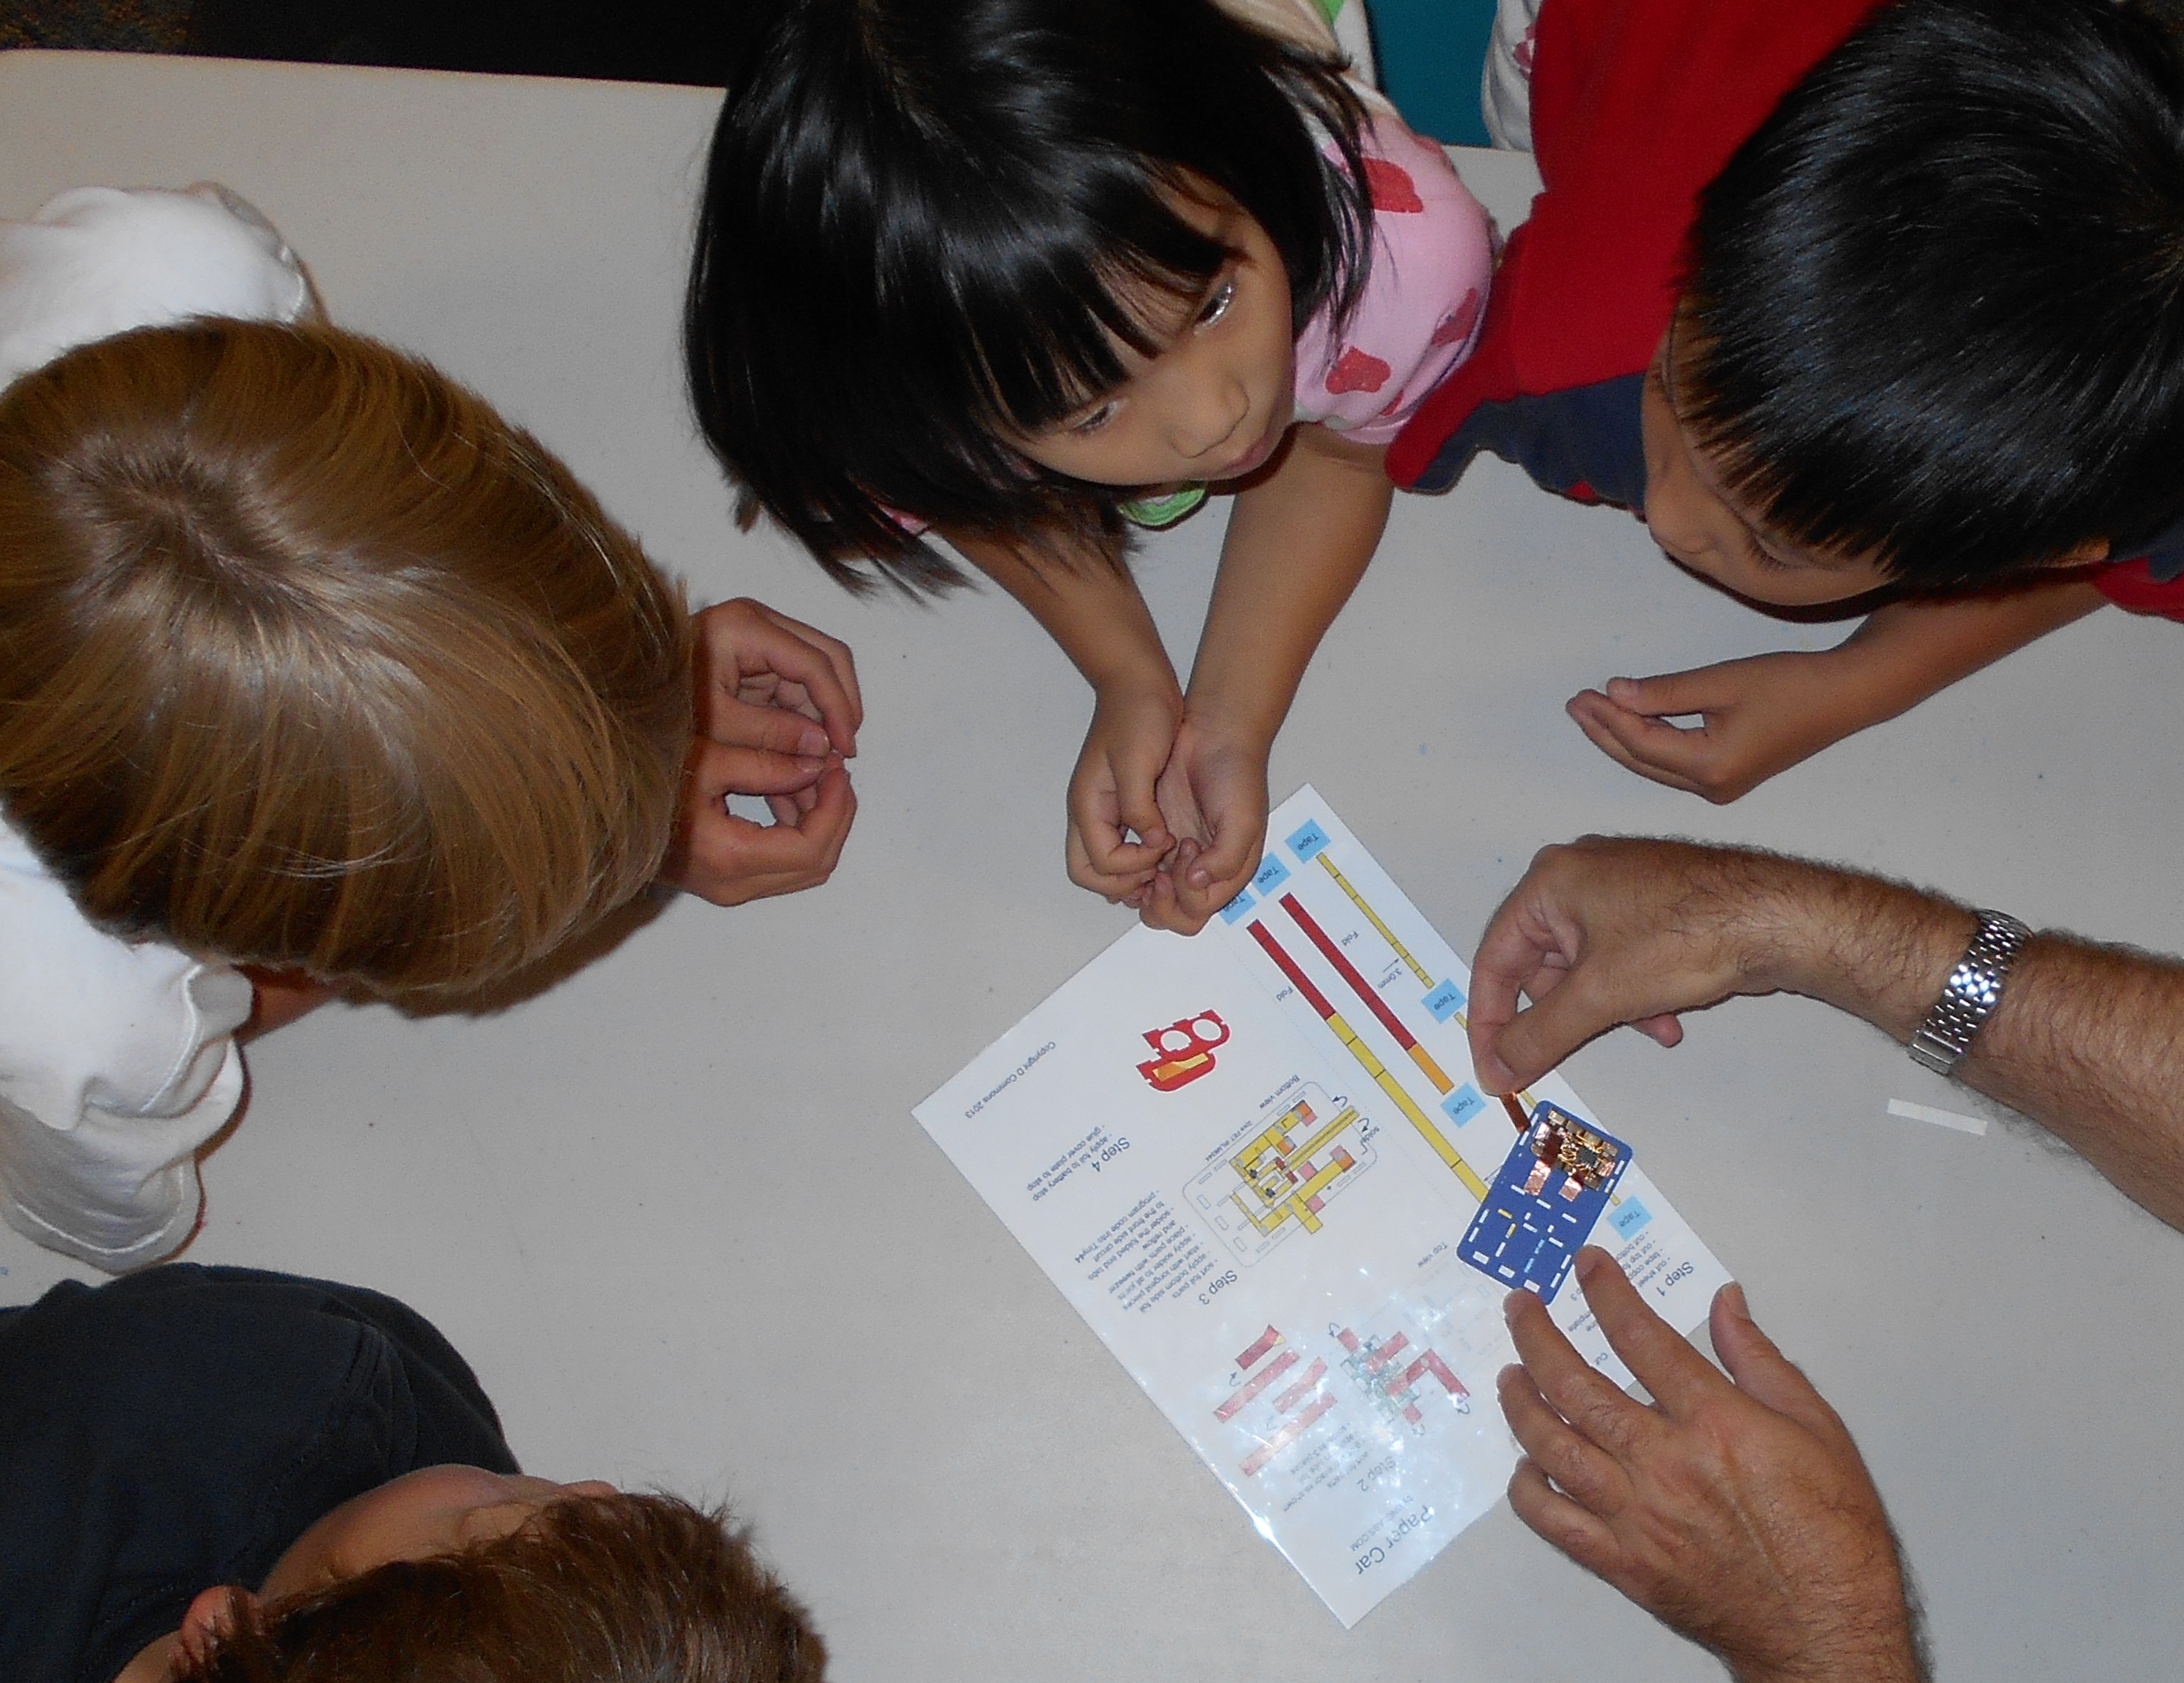
On day two I was a little wiser and changed my teaching strategy. Instead of starting to build multiple cars I decided that we would build one group car. I also arranged for a trained helper who assisted two other kids to build there own cars. Working in a group gave everyone a chance to participate in cutting parts, gluing and soldering. I made sure everyone was kept in the loop and managed to keep 7 children from 6-12 years old focused on building a car, for and hour and a half. I understand that is actually quite a feat given the average attention span. I think by having each person involved every couple of minutes I was able to keep them engaged. We did manage to build the circuit and program it to test the motors. We weren’t able to get it entirely glued together because of the limited time and the fact that the white glue takes more than an hour to dry. I was very pleased with the group effort on Sunday and the great support the kids gave to one another.
So here is what I learned about giving a workshop to the general public.
1. It will take two to three times more than you expect. I can build a car in and hour and it would realistically take someone unfamiliar with the design about 2-3 hours to complete.
2. If the project is complex you need to work as a group otherwise you will not be able to keep up with the questions from all of your eager apprentices. Also despite trying to keep everyone working on the same step you can’t.
3. You need at least one other trained helper otherwise you just spend your time running to help people before they go to far off the rails or stalled waiting for me to help them.
4. You need to clearly identify the age target for the workshop. My target age group was 12 years or older but most of the kids showing up were between 6 and 9 years old. To this point I could design for a younger audience and then add more complex features if the individual has greater skills.
5. Instruction sheets need to be very clear and simple to follow. In retrospect I should have etched the card board to show where the copper foil was to be placed. I also should break down the assembly drawing into smaller steps.
So what is a paper car?
This is an updated variant of the car I described in my last blog post. A paper car is a laser cut car made from card board and equipped with an Arduino compatible processor to control two pager motors that drive the car by acting as motors. This car was simplified slightly by ensuring that foil was mostly 0.25″ wide which reduces the cutting time. I also switched to AAA batteries which allows for a slightly smaller car design. I also went with paper wheels made up of two disks of paper that are glued together rather than the wood wheels.
For those of you who want to try this out the project files can be found below. I have included the source file for the laser cut car which can be opened with Inkscape. The assembly instructions are located in two pdf files and finally the code is located in an Arduino sketch file.
Laser template (rename to *.svg from *.txt)
Paper_Car_AAA_V1_8_laser425x425
Assembly instruction pdf files, page 1 and 2:
Paper_Car_AAA_V1_8_assemblyPage1
Paper_Car_AAA_V1_8_assemblyPage2
Code
PaperCarV1_8