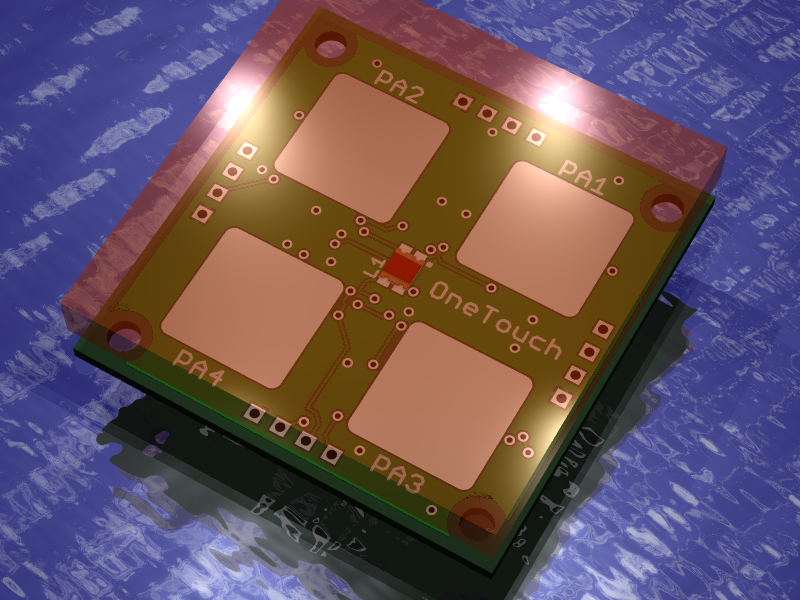
 Capacitive switches have shown up in many products most notably the iPod where it really hit the mainstream. Despite its commercial success I rarely see capacitive touch switches in hobby projects. A friend of mine asked me what I thought of using a touch switch for a museum application where the switch needs to be very robust. As I thought about an appropriate answer I felt my knowledge of the subject lacked hands on experience. Sure I’ve read about it but I have never tried it; so I am embarking on this diversion to satisfy my curiosity and hopefully end up with a re-usable switch in the process.
My goal is to develop a hackable capacitive switch that is 1.625″x1.625″ in size. A switch by itself isn’t very interesting so I intend to add an RGB LED to give the project a bit more mood. Ultimately the switch needs to be inexpensive so I selected the ATTiny40 processor from Atmel. This allows me to use Atmel’s Qtouch library so hopefully this project becomes more of a packaging exercise. My final requirement was that I wanted to be able to read the switch using the I2C bus. This feature allows me to string a series of switches together in any physical arrangement. I can also control the switch easily from an Arduino so that the project might be very useful to a broader community.
Packaging the PCB is a much more interesting part of the design. The LED needs a diffuser so there are many materials that need to be tested. For starters I’m thinking of opaque white acrylic or white/clear silicone rubber to provide a better tactile feel. I have designed the PCB to have components on both sides because the LED must be on the same side as the sensor, to be seen. The LED on the primary side of the PCB creates an issue with not having the cover plate interfere with the component. The second packaging issue is labelling the switch. For a high use application all of the printing needs to be protected by a layer of plastic or the print will wear off. My initial thought is to laser print labels on mylar which is back painted. Finally I need some sort of mounting frame to assemble the whole unit. I would love to make an aluminum frame using a CNC machine or perhaps cast an aluminum frame. I’m taking a sculpting and mould making course so it isn’t that big a stretch to make an aluminum casting. Of course I was thinking of doing this at home just to watch the hot metal fly.
Electrically each switch can be wired to an adjacent switch on any of its sides. The only interconnect wires are the I2C SDA/SCL lines, VCC and GND. On one side of the board I provide access to an ISP programming header so that the board can be flashed with firmware.
As I designed the board for the capacitive touch sensor I realized the ATTiny40 is not programmed using SPI; instead Atmel developed yet another proprietary interface called TPI. The new TPI programming interface is not supported by the AVR Dragon or MKII ICE and when I contacted Atmel they said they had no plans to support it on either of these hardware programmers. Not very helpful. I did come across an application note AVR918 that supports the TPI interface on an ATMega32 with two UARTS. I will port this code to the ATMega32U4 which will provide me with a USB to TPI programmer. Of course I could buy yet another programmer from Atmel but I think that having already bought two this is less attractive. What started out as a simple experiment has rapidly become more complex however there is still a lot to be gained form the project.
The final point I would make is that the ATTiny40 comes with 4K of Flash and yet I can buy it for $0.80 which is a real bargain. This of course is the famous lost leader and I predict that Digikey will have bumped the price up to $1.50 each (quantity 25) within a year.
Work in Progress
So what do I mean by WIP? Well for starters this design is incomplete and possibly inoperable in its current state. I provide the design in this state so that you can follow my progress or finish it yourself if you are in a hurry and so inclined. I hope this illuminates a lot of the design details even though I haven’t finalized any aspect of the design. Pyramids are built one stone at a time.
Eagle schematic One_Touch